Saturday, March 19, 2016

Twisted Easel Cards

Hello!  Jo here to share two cards with you, using the Magnolia Lane dies and papers.
 
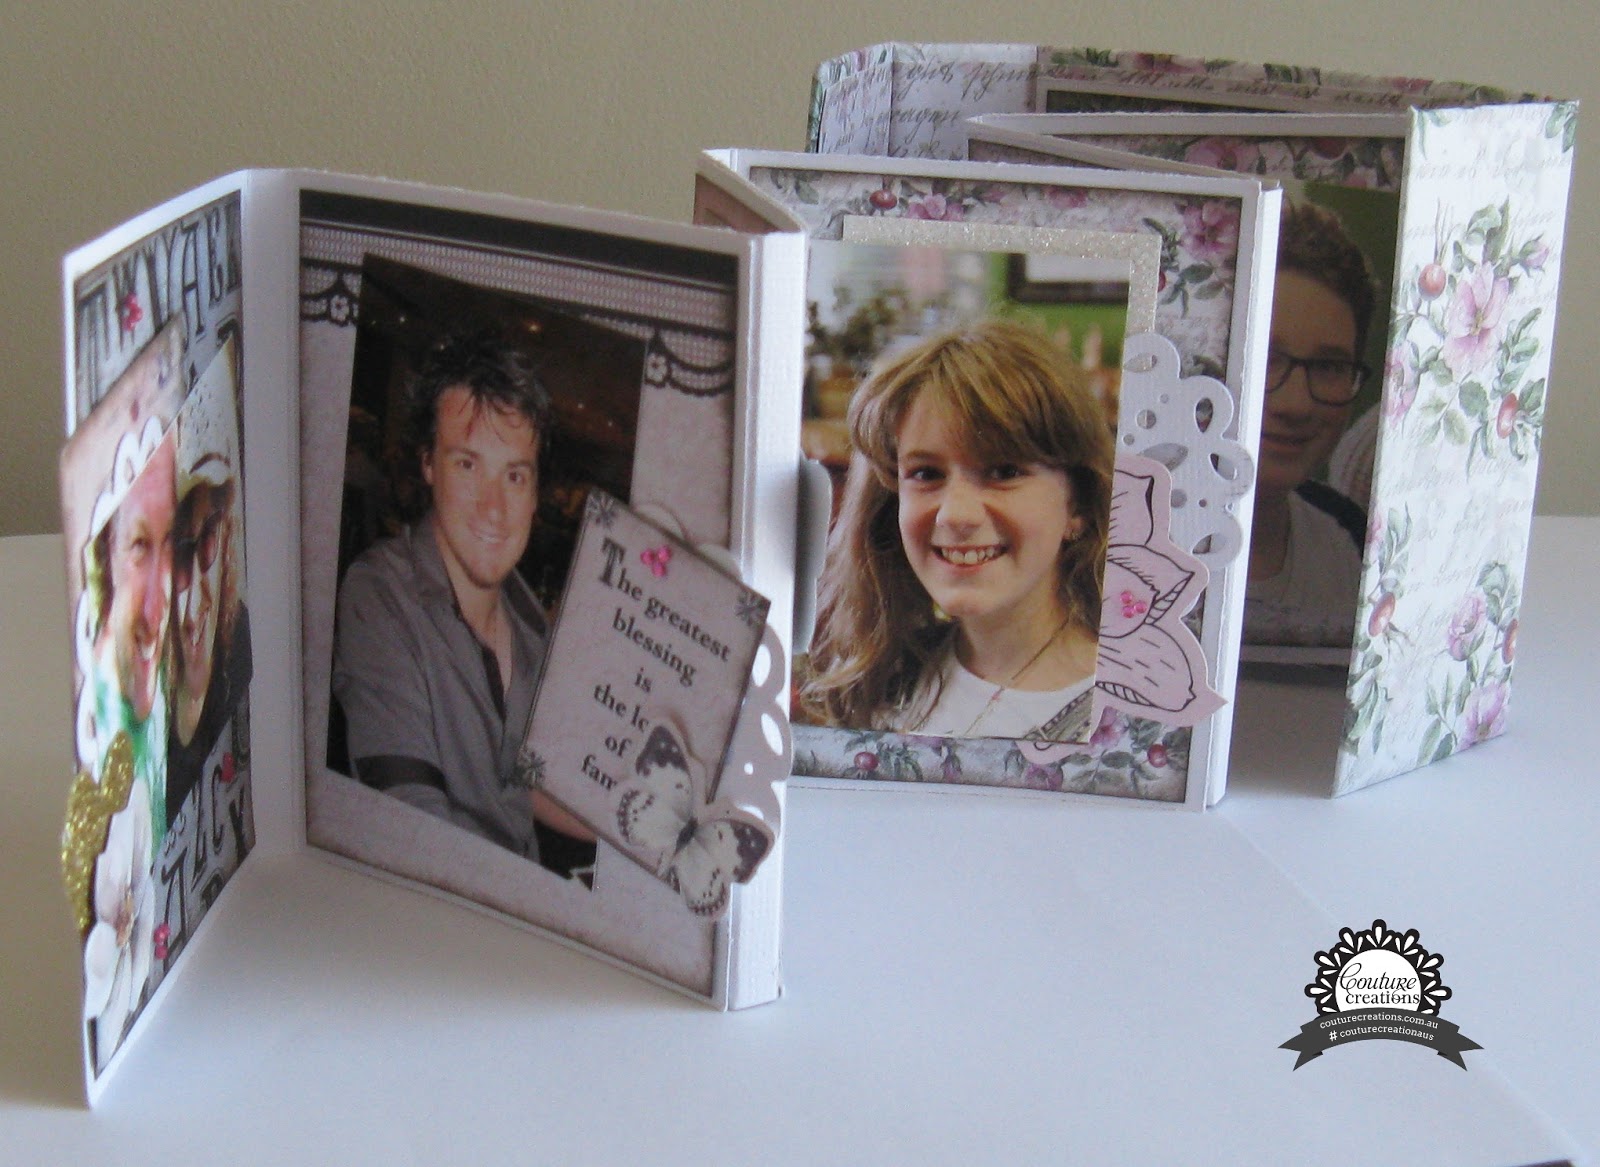
My two cards are twisted easel cards, tho they lay flat for postage.


These cards are easy to make.  Cut your card to the size you want but I does need to be square.  I cut mine to 5 inches x 5 inches.
 
Then fold the cover of your card on the diagonal to leave a triangle.  Then you need another piece of 5 inch x 5 inch card to make your card front.
 
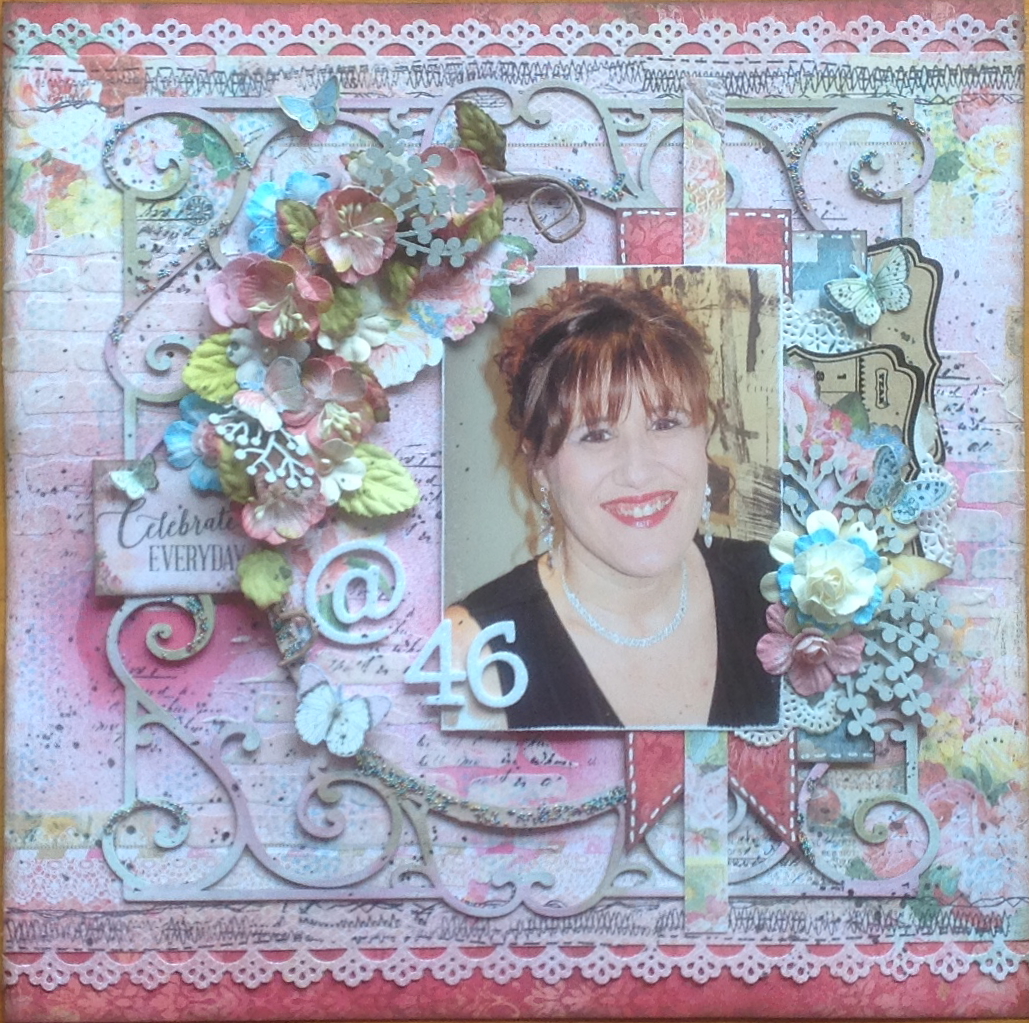
For this card I have just layered up a few of my favourite dies from the Magnolia Lane range.  Ok confession - all of them are my favourite.  I absolutely love this  square lacey frame that is on this card.  Its called Square Magnolia Frame and it has received a hammering since I have got it.
 
So first I layered my paper then the lacey square frame.  I then layed the Magnolia Doily over the top of that.  The little lacy square that the rosette is sitting on is from the insert of the Square Magnolia Frame so I then placed that on.  Added my rosette and teamed it up with the leaf from the Rose Cutting die.  I added the butterfly from the ephemera back and some gemstones.


So with my second card, I chose not to have a full back piece.   I just covered the triangle piece of the card and then layed my Square Magnolia Frame.  I wanted to use the Rosey Frame die but it got a little lost on its own so I placed it on to a circle that I cut from the nestig dies.  I added a little bit of ink around it just to make it pop a little.  I then added my paper magnolia in the middle.
 
Again I have added my butterflies from the ephemera pack and for my sentiment I used the Thank You Tag Set die.
 
 
Here's a little look at how they look when they are folded down ready to post.

 
Thanks so much for stopping by and for all the lovely comments.  They are truly appreciated!
 
Until next time
 
 
Ultimate Crafts Products used
Tools used
 
Adhesives used


Thursday, March 10, 2016

Blue Fern

Hello paper friends!
 
Just the last few months I have fallen totally in love with Blue Fern products.  I love their paper and chipboard and they have some stamps that are just divine.  I'm now waiting to get my hands on some if their new embossing powders.
 
Any how here is a page a created with some of their paper range.
 
 
I NEVER EVER scrap pics of myself.  I know it will be important for my kids to have them later on so I really need to make a bit more of an effort.  I was really pleased with how this turned out.  I have used an old Twiddleybitz frame and also had a bit of a play with some microbeads.

I have also done a little stenciling and some stamping and spritzing.
 
I love these kind of layouts - packed to the brim with goodies but I have been trying recently to "tone" them down a little too.  I'm really enjoying working on white backgrounds and keeping it simple but I do love it when I get the opportunity to just go nuts and chuck everything including the kitchen sink on to a page.
 
Thanks so much for stopping by
 
Until next time


Tuesday, March 8, 2016

A Ladies Diary - G45

Hello and welcome!
 
So I was going through a bunch of photos on my computer and discovered a whole heap of layouts that I have created but haven't yet shared.
 
This one is a favourite.  It came about from the last of my scraps from the G45 papers A Ladies Diary
 
 
I fussy cut out some of the pretty elements including that divine lady on the right hand side.
 
Added some Blue Fern chipboard and some bling.   I also punched around the edges to give it a lacey feel.  I love G45 papers but really struggle to cut it up so I was so happy that I finally managed to use it all up.
 
Thanks for stopping by.
 
Until next time


Thursday, March 3, 2016

Mini Album with Magnolia Lane

Hi lovely people!
 
Thanks so much for popping by today and letting me share.
 
I have had a wonderful time playing with the new Magnolia Lane range.  As soon as I got it I new I wanted to make a simple mini album using the beautiful papers as well as the matching embellishments.
 
This is an accordian mini album.


To make my album I covered 4 pieces of light weight chipboard with the gorgeous papers from 12 x 12 paper pad.  I then used the 6 x 6 for the insert as the print is a little smaller.
 
Here is a closer look  at the cover.


To decorate my cover I have used the co-ordinating chipboard embellishments and the ephemera pack.  My flowers I made using the Aster die  from the Floral Layers collection.  For a little sparkle I cut pieces from the Magnolia Lane Bling Flourishes with Pearls.
 
Here is how my book looks with all the pages out. 


I have kept my embellishments simple.  You will see that I have used some of the florals and butterflies from the ephemera pack as well as the little quotes on one of the pages from the 6 x 6 paper pad.  The doilies from the Petite Doilies range go perfectly in my album.  Just the right size.
 
I finished off with some gold hearts cut from the nesting dies and of course lots of little bling using the 2mm gemstones.
 
I am in the process of working on another flip mini album at the moment so be sure to pop back a little later for a look.
 
Until next time
 
 
Ultimate Crafts Products Used
 
Couture Creations Products Used
 
Tools used
 
Adhesives used